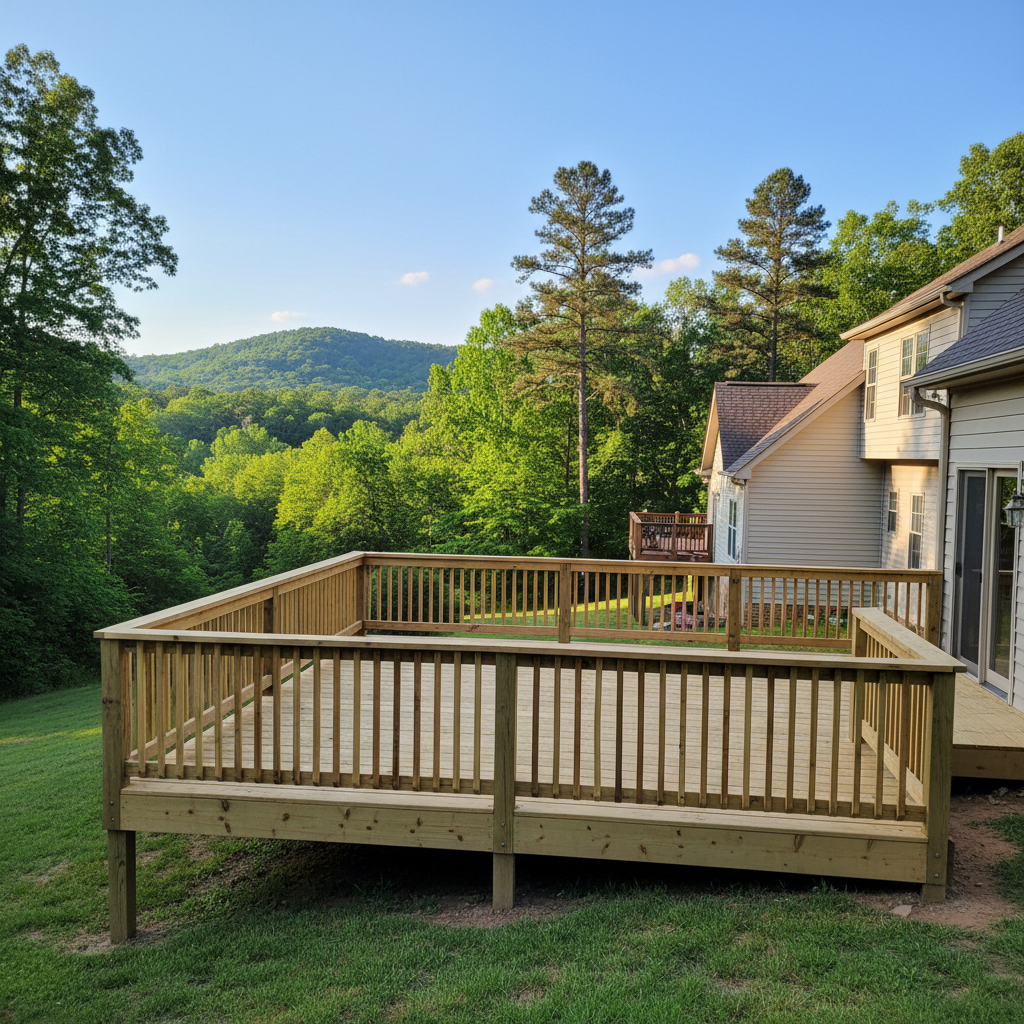
So, you're thinking about upgrading your deck railings? Good call. New railings aren't just about looks; they're a huge safety upgrade, especially if you've got little ones, pets, or just want to feel more secure on your elevated outdoor space. As a contractor right here in Morganton, I've seen a ton of railing projects. Everything from a simple swap to a complete deck makeover. Let's figure out how to get yours done right, without any stress.
Your Project Timeline: What to Expect
First things first, let's talk about how long this might take. A deck railing installation usually isn't an overnight job, even if it looks pretty straightforward on the surface. From your initial idea to that final inspection, you're looking at a few key steps.
- Planning & Quotes: Give yourself a couple of weeks here. You'll want to chat with a few contractors, get some estimates, and compare what's out there. Don't rush this part; it's where you really nail down what you want and who you feel good about working with.
- Material Ordering: Once you've picked a contractor and settled on your railing style, it's time to order the materials. This is often the biggest wild card. For standard Trex or aluminum railings, you might be looking at 2-4 weeks. But if you're going custom, or for specialty materials, that could stretch to 6-12 weeks – sometimes even longer, depending on how the supply chain is acting. We've certainly seen some crazy delays since the pandemic, so keep that in mind.
- Permitting (If You Need It): Depending on what you're doing and your local rules, you might need a permit. Here in Burke County, if you're just replacing railings on an existing deck that's already up to code, you might be in the clear. But if you're building a brand-new deck or making big structural changes, you absolutely will. Getting a permit can take anywhere from a few days to a few weeks, depending on how busy the city or county office is. Your contractor should handle this, but it's definitely part of the overall timeline.
- Installation: The actual time it takes to install varies a lot. It depends on your deck's size and how complex the railings are. For a typical residential deck, my crew at Paradise Deck Solutions might take anywhere from 1-3 days. Bigger, more intricate jobs? Those could easily take a week or more.
All told, from your first phone call to finally enjoying your new railings, you should probably plan for 6-12 weeks. Sometimes it's quicker, sometimes it drags a bit, but that's a pretty good general estimate.
What Happens During Installation
When the crew shows up, here's a general idea of what you can expect:
- Prep Work: We'll start by protecting your yard and anything around the deck. If we're taking out old railings, that's the very first step. There'll be some noise, dust, and debris, so just be ready for that.
- Post Installation: The railing posts are the backbone of the whole thing. We'll make sure they're super securely fastened to your deck structure. This is critical for both safety and stability, you know?
- Railing Sections: Once those posts are solid, we'll put in the railing sections, balusters, and top rails. This is when your chosen style really starts to pop.
- Cleanup: A good contractor cleans up every day and does a thorough final sweep. You shouldn't be left with a mess.
- Final Walkthrough: We'll go over the finished project with you, make sure you're happy, and answer any last questions you might have.
You'll probably see some tools and materials in your yard for a few days. For safety, keep kids and pets away from the work area. It's a construction zone, after all.
How to Get Your Home and Deck Ready
A little preparation on your end can make things much smoother for everyone involved. Before the crew arrives:
- Clear the Deck: Take off all furniture, grills, planters, toys – anything at all from your deck and the area immediately around it. We need clear access.
- Clear the Path: Make sure there's a clear path from where we'll park to your deck. Move any garden hoses, yard decorations, or anything else that could get in the way.
- Pets & Kids: Keep pets inside or secured in a safe spot away from the work. Same goes for kids; construction sites are no place for play.
- Access to Power: We'll need an outdoor electrical outlet for our tools.
- Chat with Your Neighbors: If the work is going to be loud or might affect their property line, a quick heads-up to your neighbors is always a nice gesture. Especially if you live in a tighter-knit community like the neighborhoods around Lake James, where homes are often closer together.
Questions to Ask Before You Sign Anything
Don't just jump into a contract. Ask questions! It's your hard-earned money and your home we're talking about. Here are some I always recommend:
- What's the full scope of work? Get it in writing. What exactly are you getting? What's included, and what's not?
- What materials are you using? Be specific. Brand names, grades, colors.
- What's your payment schedule? How much upfront? When are subsequent payments due?
- Do you handle permits? Who is responsible for pulling them? Will you provide copies?
- What's your warranty? On labor? On materials? How long does it last?
- What's your estimated timeline? Be clear about start and completion dates, understanding that weather can affect things.
- Are you licensed and insured? Ask for proof. Don't work with anyone who can't provide it. This protects you if something goes wrong.
- Who will be on my property? Will it be your employees or subcontractors?
- How do you handle unexpected issues? What if we find rotten wood under the old railings? How will that be communicated and priced?
- How do you protect my property during the work? What measures do you take to prevent damage to my house or landscaping?
Asking these questions upfront will save you a lot of headaches down the road. You want to feel confident in your choice of contractor, right? A good one will welcome your questions and give you clear, honest answers. You're investing in your home, so make sure you're getting exactly what you want and need.